|
This week, we continued working on the grid method self portrait drawings. They are coming along very nicely! There's a great variety in styles across all classes, and many people are starting to add creative elements to their portraits. Don't forget to do it in this order:
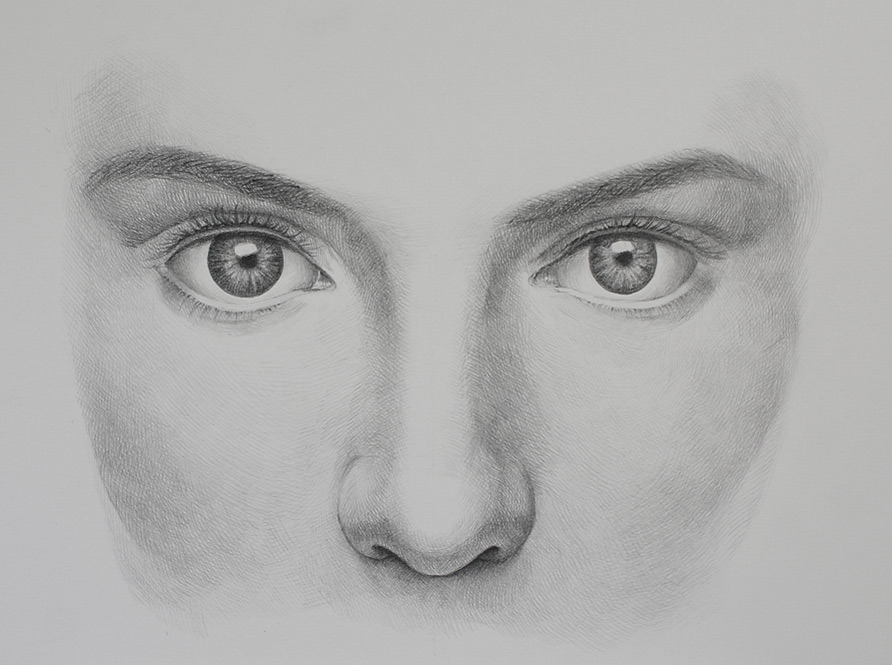
1. Complete, label, and double-check your grids on the photograph (1/2") as well as the drawing paper (1"). 2. Using a light pencil pressure, copy what you see and enlarge it, square by square. You are lightly outlining the shapes created by shadows and highlights. You may ignore the background. 3. After everything has been plotted, begin filling in with shading. You may choose to use hatching, cross-hatching, stippling, scribbling, blending, or something else creative like text. 4. While adding shading, begin making whichever creative alterations you would like to make. Remember the examples we saw in class for inspiration! We also practiced drawing the facial features by watching tutorials. There should now be a page in your sketchbook for each of the following: EYES (also see this, and this), NOSES, MOUTHS, and EARS. Sketchbook checks were moved to the next grading cycle. Report cards went home.
0 Comments
Leave a Reply. |
AuthorMs. Slavin Archives
May 2016
posts |
 RSS Feed
